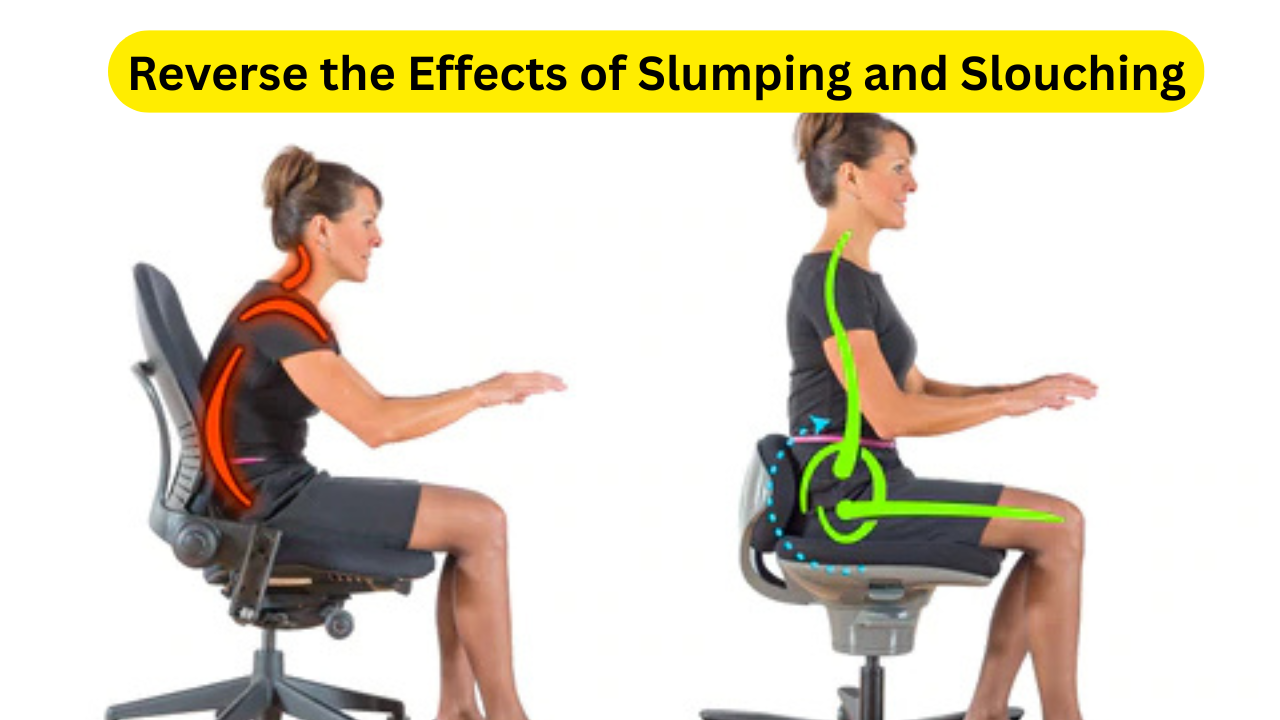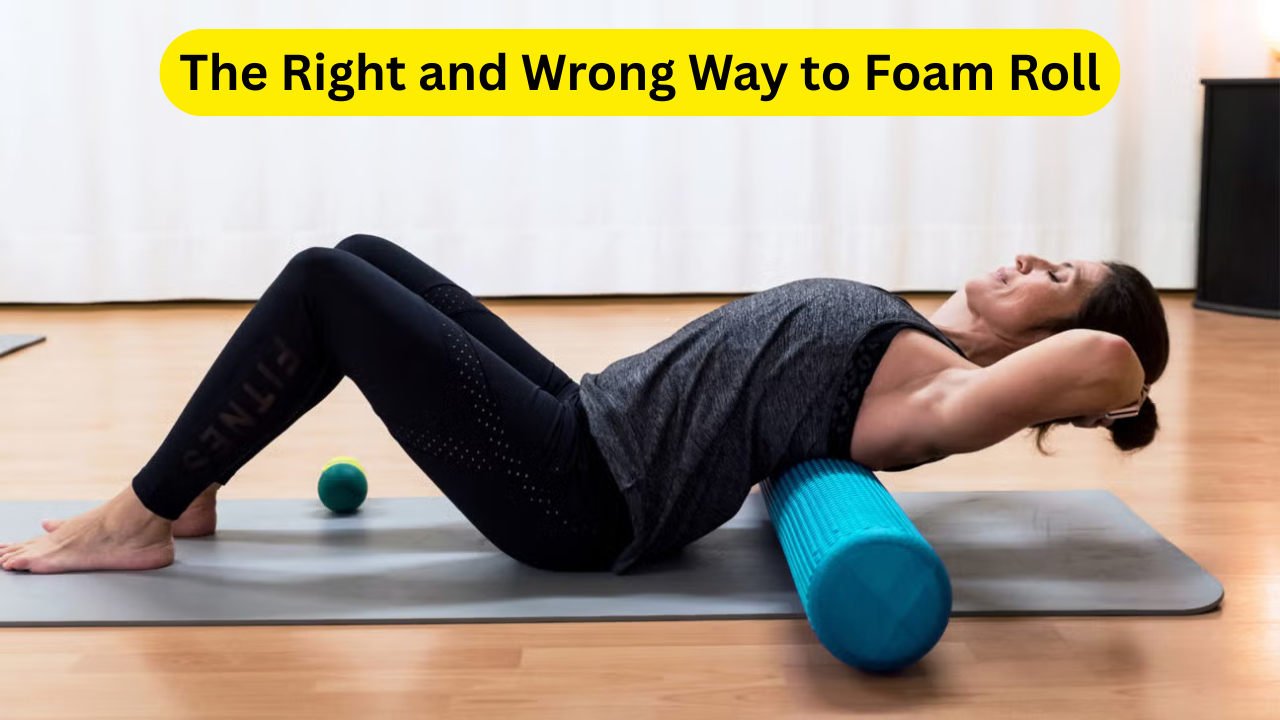
The Right and Wrong Way to Foam Roll: Do you often find yourself struggling with tight hips, weak glutes, or leg instability that hinders your daily movement or athletic performance? These lower body issues are more common than you think and can stem from sedentary habits, poor posture, or lack of targeted mobility exercises. Many people turn to foam rolling and yoga for relief—but without proper technique and a structured approach, the results can fall short or even lead to further discomfort. Understanding how to foam roll correctly, combined with dynamic yoga movements, can unlock a whole new level of comfort, strength, and mobility in your lower body.
Foam rolling, when done right, can alleviate muscle tension, increase circulation, and improve recovery after workouts. However, the wrong method can aggravate sore spots, put pressure on the wrong areas, and yield little benefit. Similarly, yoga offers an effective way to stretch and strengthen the hips, thighs, and calves, but without awareness of body alignment and progression, you may miss out on its true potential. That’s why this article will not only explore the right and wrong ways to foam roll but also guide you through a dynamic yoga sequence designed to complement and enhance the effects of foam rolling.
This comprehensive guide is ideal for beginners and intermediate practitioners seeking sustainable ways to improve lower body health. Whether you’re a runner battling IT band issues, an office worker dealing with hip tightness, or someone trying to improve stability in your lower limbs, you’ll discover how to use foam rolling as a tool—not a quick fix—and how yoga can provide a deeper, more lasting transformation. Let’s break down everything you need to know.
Understanding Foam Rolling: What It Is and Why It Matters
What Is Foam Rolling?
Foam rolling, also known as self-myofascial release, involves using a cylindrical foam roller to apply pressure to muscle tissue. It helps release muscle knots (trigger points), improve blood flow, and enhance recovery. Athletes, fitness enthusiasts, and even physical therapists recommend foam rolling to treat and prevent muscle tightness.
Why Your Lower Body Needs It
The hips, thighs, calves, and glutes are prone to tightness due to long periods of sitting, repetitive movement, or intense workouts. Foam rolling these areas can:
- Reduce soreness
- Prevent injury
- Improve range of motion
- Enhance performance during physical activity
Click here: What Makes a Truly Great Yoga Teacher: Traits, Techniques & Why People Travel to Learn from Them
The Right Way to Foam Roll
Principles to Follow
- Go Slow: Move at a rate of 1 inch per second to allow your muscles to adapt and respond to the pressure.
- Target Muscles, Not Joints: Avoid rolling directly over bones, joints, or sensitive structures like the lower back or knees.
- Hold on Trigger Points: If you find a tender area, hold for 20–30 seconds and breathe deeply to allow the muscle to release.
- Maintain Proper Form: Engage your core and use your limbs to control pressure. Poor posture can transfer strain to other parts of the body.
- Roll Consistently: Make foam rolling a part of your routine—3–5 times per week for best results.
Effective Areas to Roll
| Body Part | Technique Summary |
|---|---|
| Quads | Roll from hip to just above the knee, front thigh |
| Hamstrings | Sit on roller and move from glutes to back of knee |
| Calves | Point toes up, roll from ankle to back of knee |
| Glutes | Sit on roller, cross one leg over the other |
| IT Band | Lie on your side and roll from hip to knee |
The Wrong Way to Foam Roll
Common Mistakes to Avoid
- Rolling Too Fast: Rushing doesn’t give tissues time to release tension.
- Applying Too Much Pressure: Deep pain isn’t better—avoid bruising or excessive discomfort.
- Rolling Over Joints: Never roll knees, ankles, or the spine directly.
- Ignoring Pain Signals: Sharp pain means you’re doing it wrong—foam rolling should feel like “good discomfort,” not agony.
- Using the Wrong Roller: Beginners should use softer rollers before transitioning to firmer models.
Dynamic Yoga Routine to Stretch and Strengthen the Lower Body
Why Yoga Complements Foam Rolling
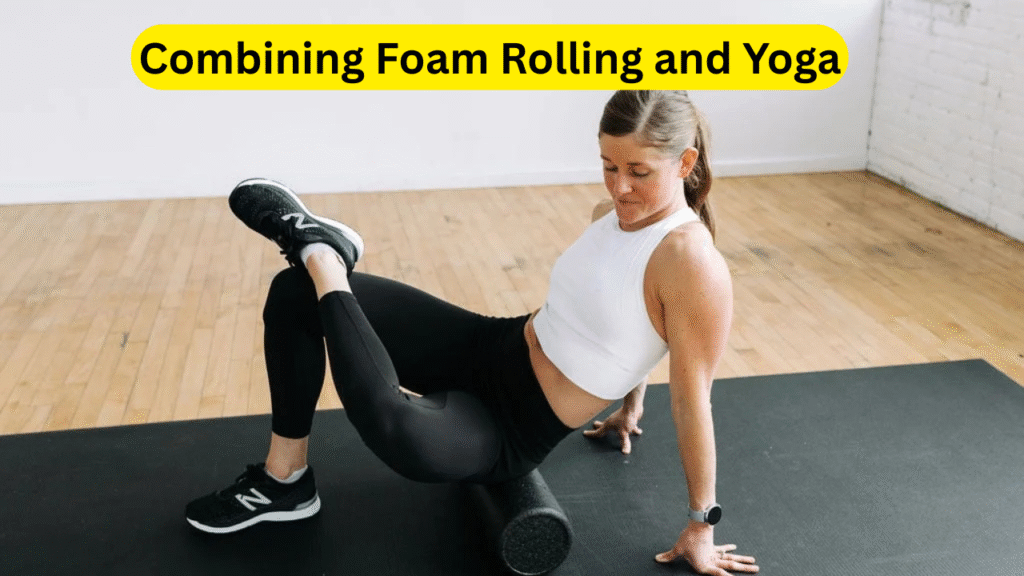
Yoga adds a dynamic element to muscle recovery, improving not only flexibility but also stability, strength, and balance. When paired with foam rolling, it completes the equation for a healthy, functional lower body.
10-Minute Dynamic Yoga Flow for Hips, Glutes & Legs
Warm-Up (2 Minutes)
- Cat-Cow Pose: Loosens spine and hips
- Downward Dog with Heel Pedal: Stretches calves and hamstrings
Core Flow (6 Minutes)
| Yoga Pose | Benefits |
|---|---|
| Low Lunge (Anjaneyasana) | Opens hip flexors, strengthens glutes |
| Warrior II (Virabhadrasana II) | Builds thigh and hip strength |
| Chair Pose (Utkatasana) | Activates quads and stabilizers |
| Half Splits (Ardha Hanumanasana) | Stretches hamstrings and calves |
| Figure Four Stretch | Deep glute and piriformis stretch |
Cool Down (2 Minutes)
- Seated Forward Fold
- Supine Twist
- Savasana (Corpse Pose)
Combining Foam Rolling and Yoga: The Perfect Routine
To get the most benefit:
- Foam Roll Before Yoga: Loosen muscles so that you can go deeper into stretches.
- Foam Roll After Workout Days: Helps flush out lactic acid and speed up recovery.
- Yoga on Rest Days: Keeps muscles supple and prevents tightness from creeping back.
Tools You Need for Success
| Tool | Purpose |
|---|---|
| Foam Roller (Soft to Medium Density) | Ideal for beginners, avoids excessive pressure |
| Yoga Mat | Provides grip and cushioning |
| Yoga Blocks | Helps with alignment and support |
| Massage Ball | Targets deeper trigger points like glutes |
How Often Should You Practice?
- Foam Rolling: 5–10 minutes, 3–5 times per week
- Yoga: 3–6 times per week depending on intensity
- Combined Routine: Alternate days or do foam rolling before a short yoga flow
Also read: Honda X-ADV Launched in India at Rs 11.90 Lakh: A Game-Changer in the Premium Scooter Segment
The Right and Wrong Way to Foam Roll Conclusion
Lower body discomfort, whether in your hips, glutes, or legs, can severely limit your performance and comfort. However, the combination of proper foam rolling and dynamic yoga can unlock your body’s potential for mobility and strength. Foam rolling addresses muscle tightness and trigger points, while yoga introduces stretching, stabilization, and balance into your routine.
Understanding the right way to foam roll is essential. Going slow, avoiding joints, and using consistent pressure are the foundational principles that ensure you’re not just rolling out muscles—but actively healing them. Meanwhile, avoiding common mistakes like rolling too fast or applying too much pressure will protect your joints and prevent injury.
Dynamic yoga complements this by improving your functional movement. The lower body-focused yoga poses not only stretch tight areas but also build the kind of core and leg strength that keeps pain and instability at bay. Yoga also promotes mindfulness, breath awareness, and body alignment—elements that reinforce good posture and movement habits in everyday life.
Integrating these practices into your weekly routine may feel like a commitment, but the payoff in comfort, posture, and mobility is well worth it. With just 15–20 minutes a day, you can improve how you move, reduce pain, and build a resilient lower body.
So the next time your hips feel tight or your legs unstable, don’t just stretch—roll, breathe, align, and flow. Your body will thank you for it.
The Right and Wrong Way to Foam Roll FAQs
1. Is foam rolling safe for beginners, and how do I start?
Yes, foam rolling is safe for beginners if done with proper form and equipment. Start with a soft-density roller and target large muscle groups like quads and glutes. Move slowly, avoid joints, and stop if you feel sharp pain. Begin with 5-minute sessions and gradually increase duration as your muscles adapt.
2. Can I do foam rolling and yoga on the same day?
Absolutely. In fact, it’s recommended to foam roll before yoga. This warms up the muscles, reduces tightness, and allows for better range of motion during yoga poses. Foam rolling after intense yoga or workout sessions can also help reduce soreness.
3. How do I know if I’m foam rolling the wrong way?
If you’re experiencing bruises, joint pain, or increased soreness the next day, you’re likely applying too much pressure or rolling too quickly. Always listen to your body—good foam rolling should feel relieving, not painful. Avoid rolling over bones and sensitive areas.
4. What type of yoga is best for lower body strengthening?
Dynamic styles like Vinyasa and Power Yoga are excellent for building strength in the legs and hips. Poses like Chair, Warrior II, and Low Lunge target the glutes, thighs, and hip flexors. For flexibility, Yin Yoga and Restorative Yoga also support deep release and balance.
5. How long does it take to see results from foam rolling and yoga?
You may feel immediate relief after a single session, especially with foam rolling. However, consistent practice over 3–4 weeks yields noticeable improvements in flexibility, pain reduction, and muscle strength. For chronic issues, regular practice combined with proper hydration and rest is key to long-term change.